Overview
Use views to work with the same structured records in the layout that best fits your task.
Understand how views work
A view presents records from a collection in a particular layout. Views that use the same collection show the same underlying records, so you can compare them in a table, place them on a map, or summarize them in a chart without creating separate copies.
Each view keeps its own layout and organization. Its visible fields, filters, sorts, groups, and other display settings can differ from another view of the same collection.
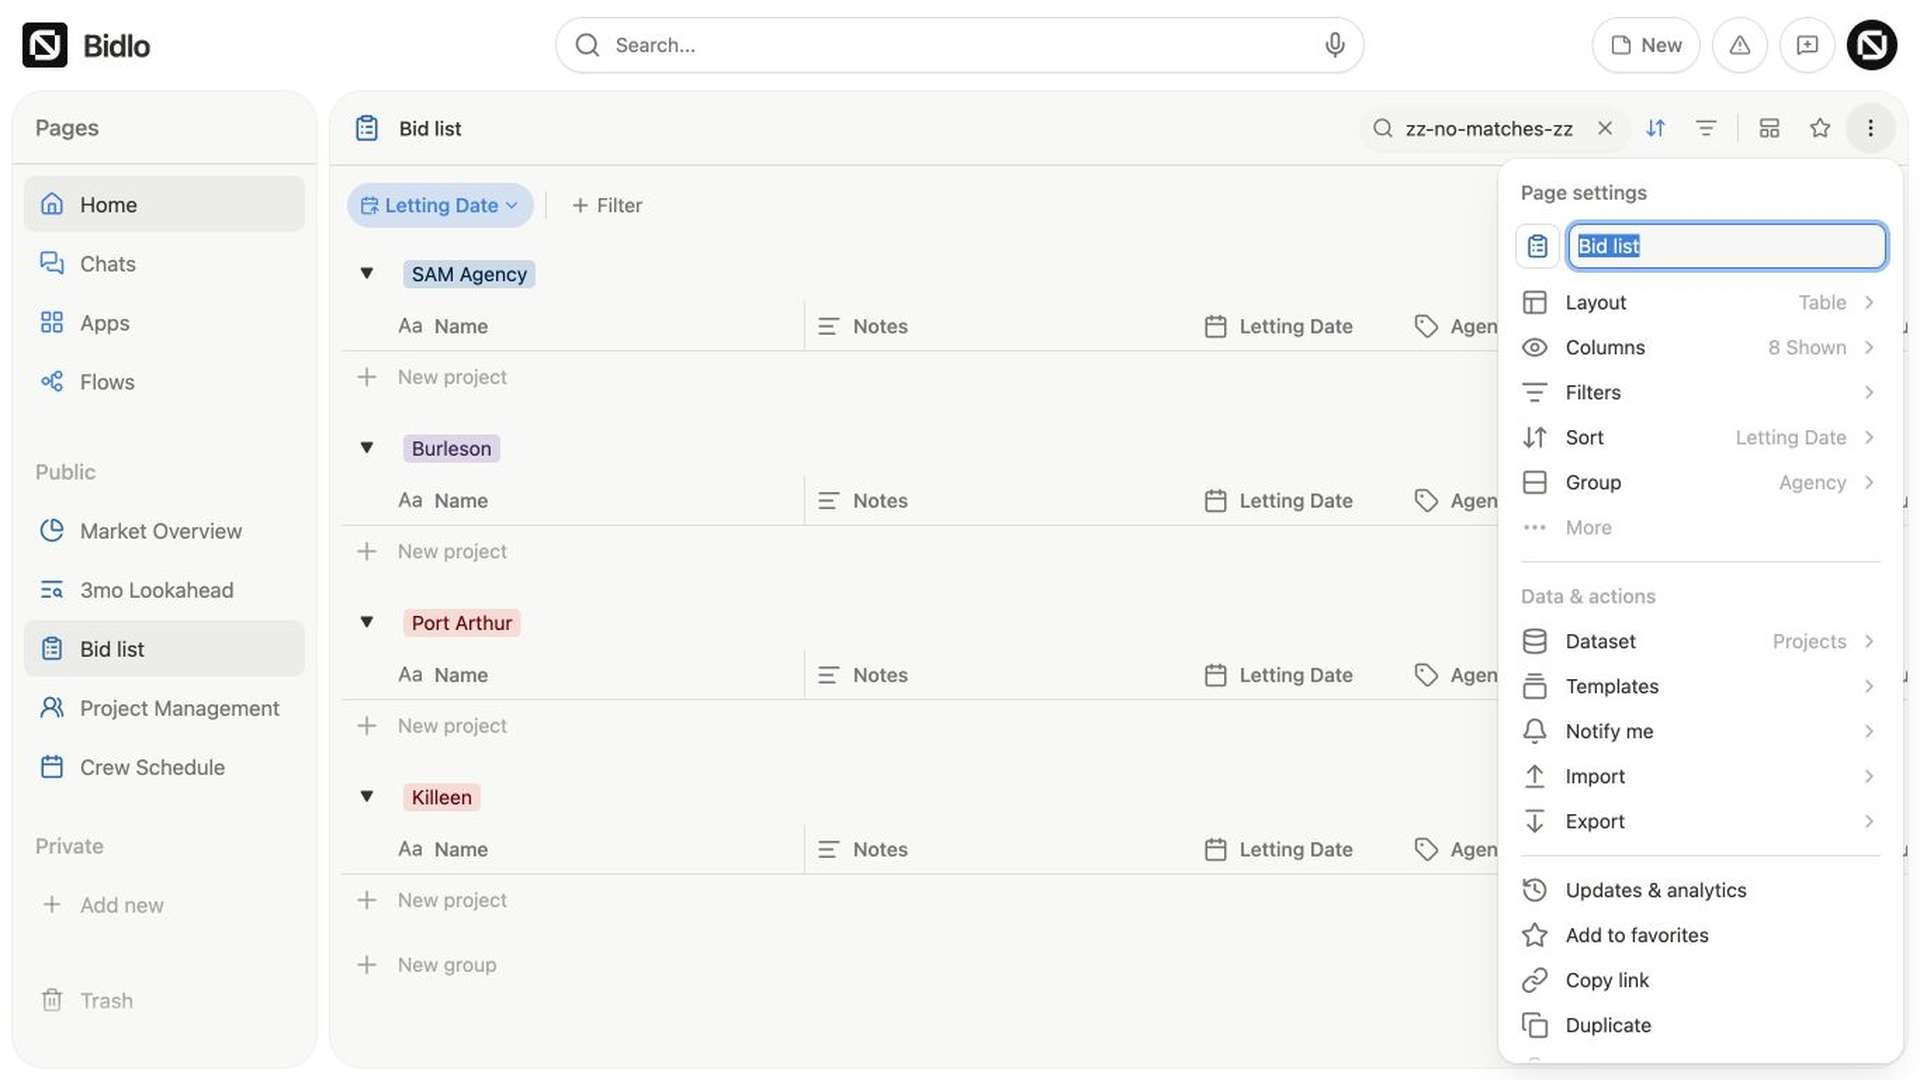
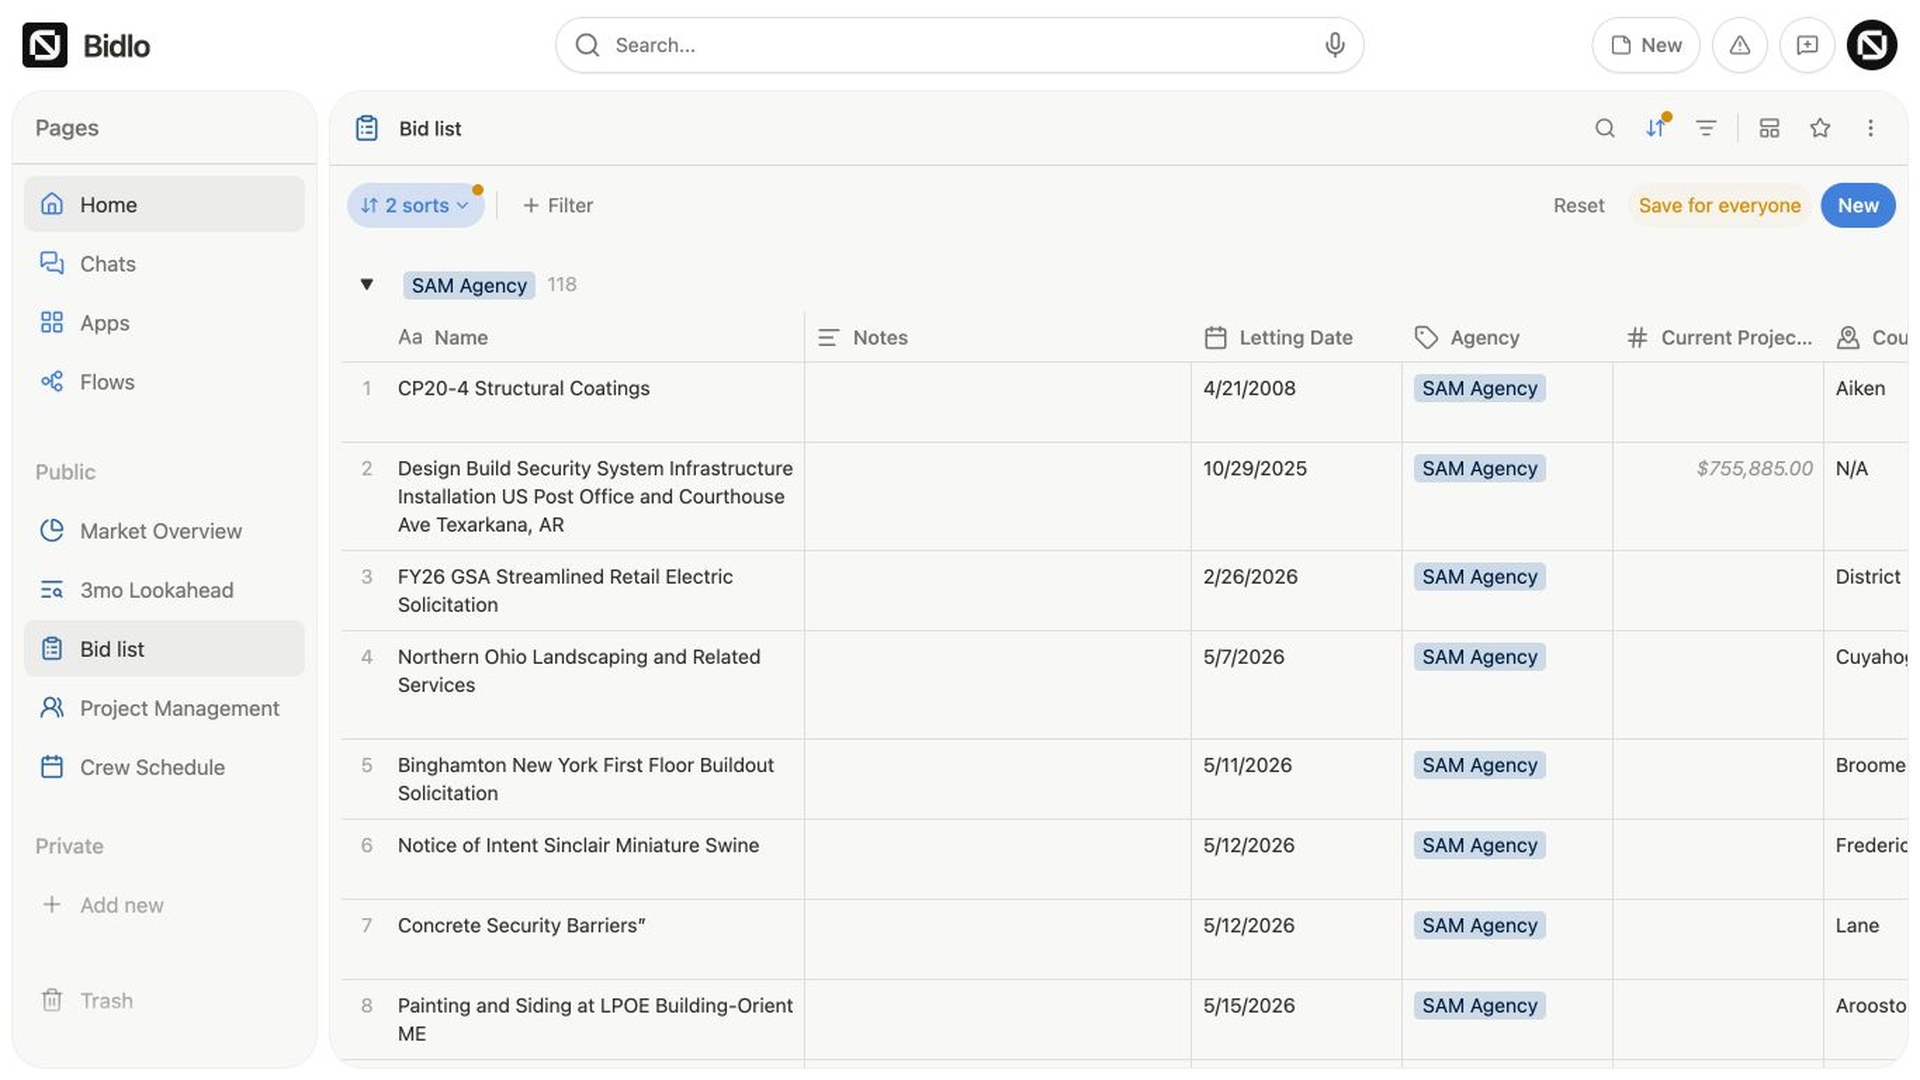
On a project, the view strip sits below Notes. A standalone view page keeps the selected layout and its controls in the page header. The Bid list example below uses a table grouped by Agency so related records stay together.
Choose a layout
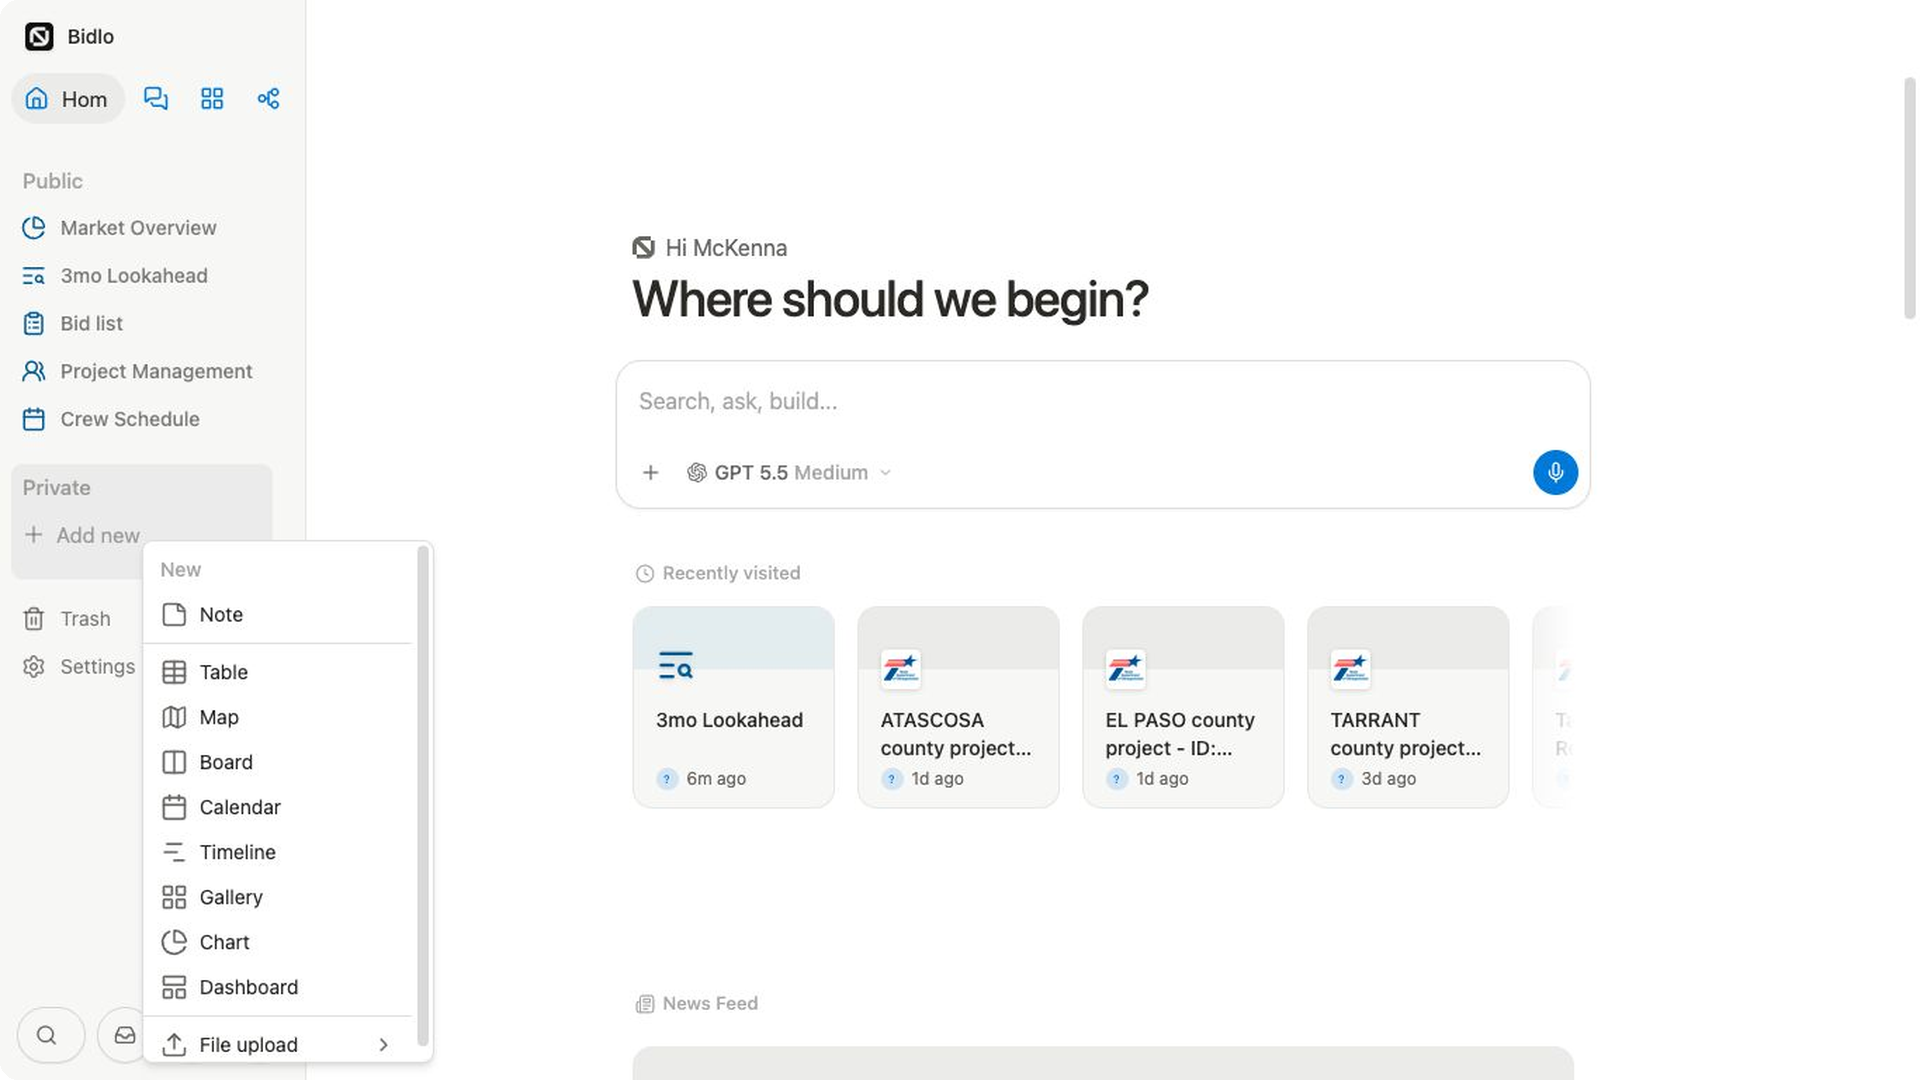
Open New from the team toolbar when you want to create a separate view page.
Choose the layout that matches the question you need to answer:
Tablecompares many records and fields in a grid.Mapplaces records by location.Boardorganizes records as cards in columns.Calendarplaces records by date.Timelineshows work across a date range.Galleryemphasizes records as visual cards.Chartsummarizes records visually.Dashboardarranges several views and summaries together.
To create a view page:
- Select
Newin the team toolbar. - Choose the layout you want.
- Give the new page a clear name.
- Complete the data setup shown on the new page.
The new page opens in the layout you selected. You can refine its fields, filters, sorts, and groups after its data is connected.
Switch between project views
A project can keep several related views in one strip. Switching tabs changes the view below while keeping the same project open.
- Open a project.
- Scroll to the view strip below
Notes. - Select the view you want, such as
ItemsorFiles. - If the strip is crowded, open the view overflow control, such as `7 more...`, to find the remaining views.
The selected tab is highlighted, and its records or content appear below the strip.
Add and manage a project view
Use New view when you want another way to present existing project data.
New data source creates a separate source of records instead.
- Open the project view menu from the view strip.
- Select
New view. - Choose a layout.
- In
Dataset, choose the collection the view should use. - Rename the view so teammates can recognize its purpose.
The new view appears in the project view strip. When several views use the same dataset, changes to a record remain visible wherever that record appears.
Open a view's menu to change View name..., choose Display as, edit the view, duplicate it, copy its link, or delete it. Display as supports `Text and icon, Text only, and Icon only`.
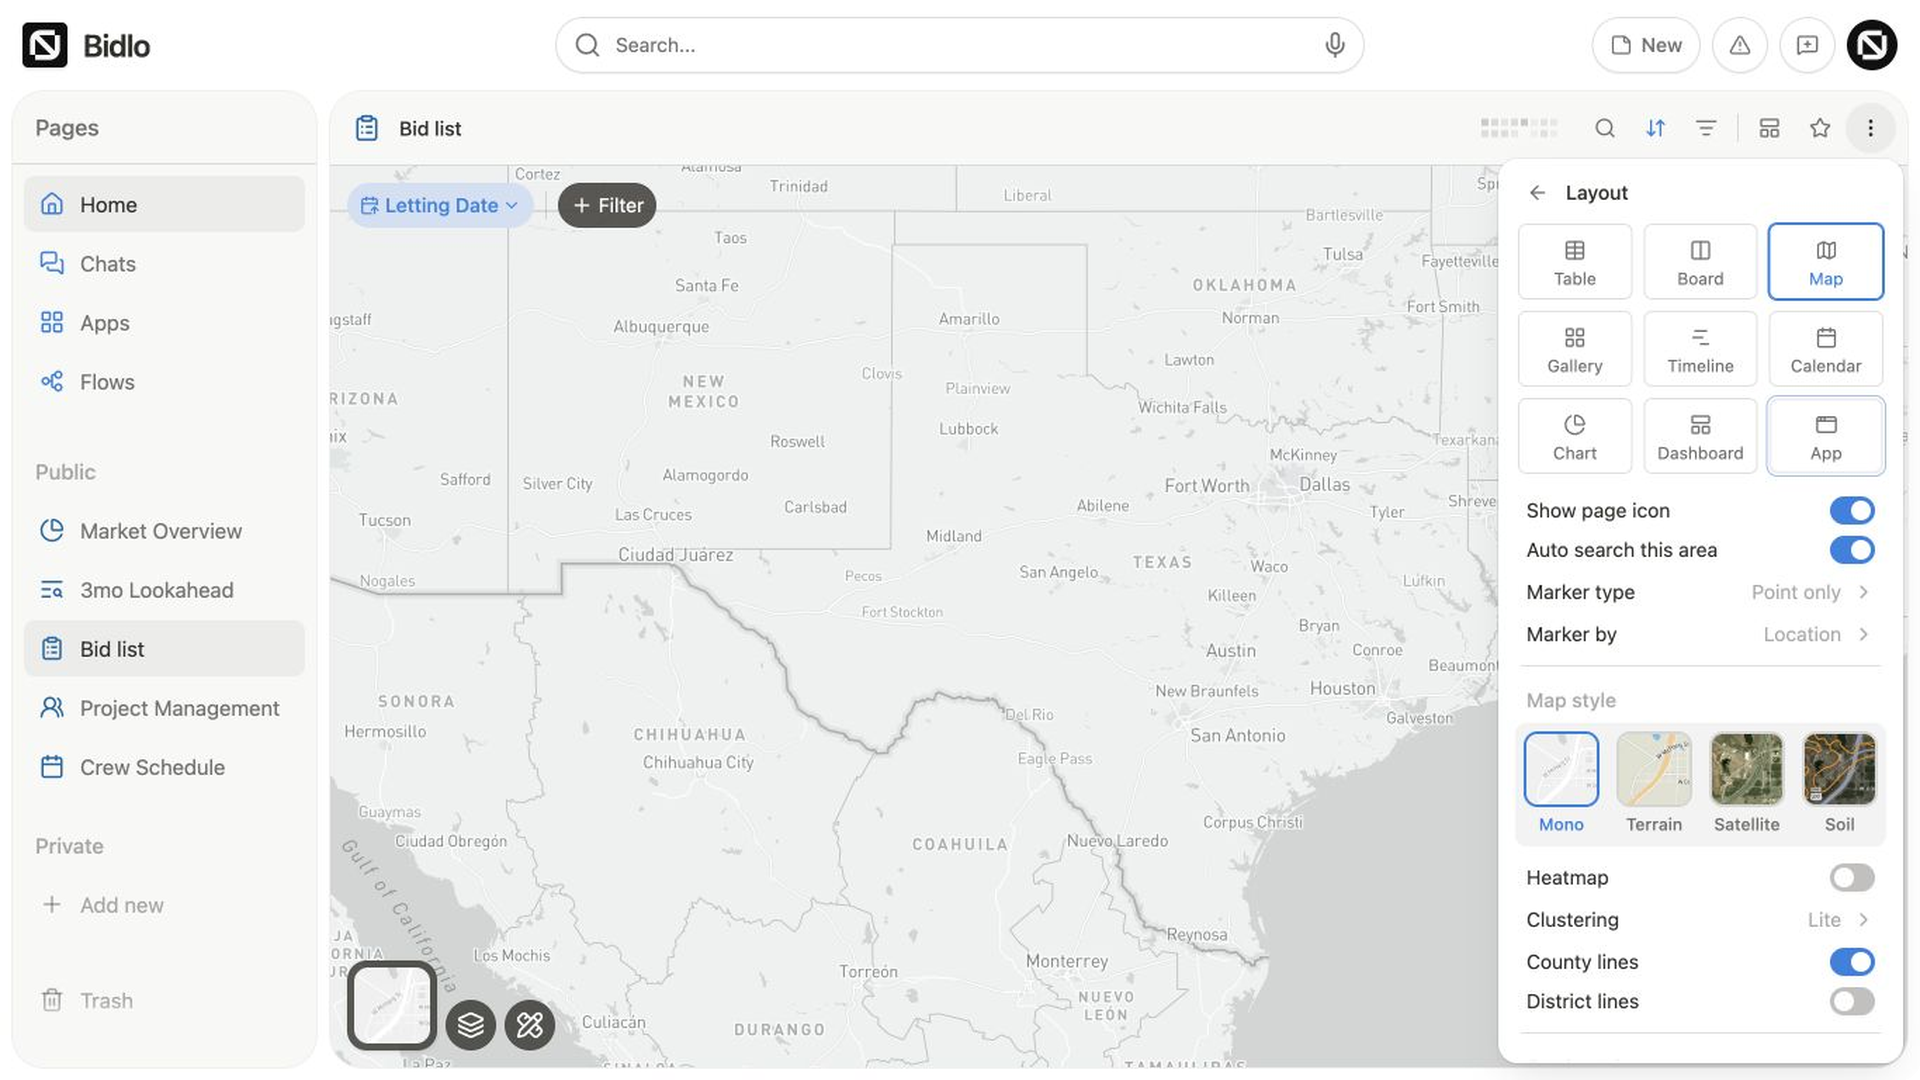
After selecting Edit view, open Layout to change the layout-specific controls. The map example shows how marker, style, clustering, and boundary choices stay scoped to that view.
Understand view settings
Open the view settings menu to control how the selected view works. The exact options depend on its layout, but common settings include:
Layoutchanges layout-specific behavior.Columnsin a table, orFieldsin other layouts, controls which record fields appear.Filterslimits the records shown.Sortcontrols their order.Grouporganizes records into sections.Conditional coloradds rules that make matching records stand out.Datasetcontrols the collection the view reads from.
These settings belong to the selected view. Another view can show the same records with a different set of fields, filters, or groups.