Tags & auto-tags
Use tags to classify records with consistent labels, then use auto-tags when a repeatable rule should apply a label to matching records.
Choose Tag or Multi tag
Both field types use a controlled list of reusable options:
Tagallows one selected label on each record.Multi tagallows several selected labels on the same record.
Use Tag for a single state such as Bid decision. Use Multi tag for categories that can overlap, such as Scopes or Certifications.
Tags are stored as options connected to the field. Renaming an option updates the label wherever that option is used; it doesn't create a second tag.
Create a tag field
- Open a view connected to the collection you want to classify.
- Open the view settings.
- Select
Columnsin a table orFieldsin another layout. - Select
New field. - Choose
TagorMulti tag. - Name the field.
- Add the options teammates should use.
The field belongs to the collection and is available to every view connected to that collection. Each view can decide whether to show it.
Add and manage tag options
Open the field's settings, then use Options to work with its labels. You can:
- add an option;
- search a long option list;
- rename an option;
- change its color or image;
- reorder options; or
- remove an option that is no longer needed.
Choose short, distinct names that match the language your team already uses.
Before adding a near-duplicate, search the existing options.
Apply tags to a record
- Open a record or select its tag cell in a table.
- Open the tag field.
- Search for the option you want.
- Select it.
With Multi tag, select more options to add them. Select an applied option again, or use its remove control, to remove it from the record.
Understand auto-tags
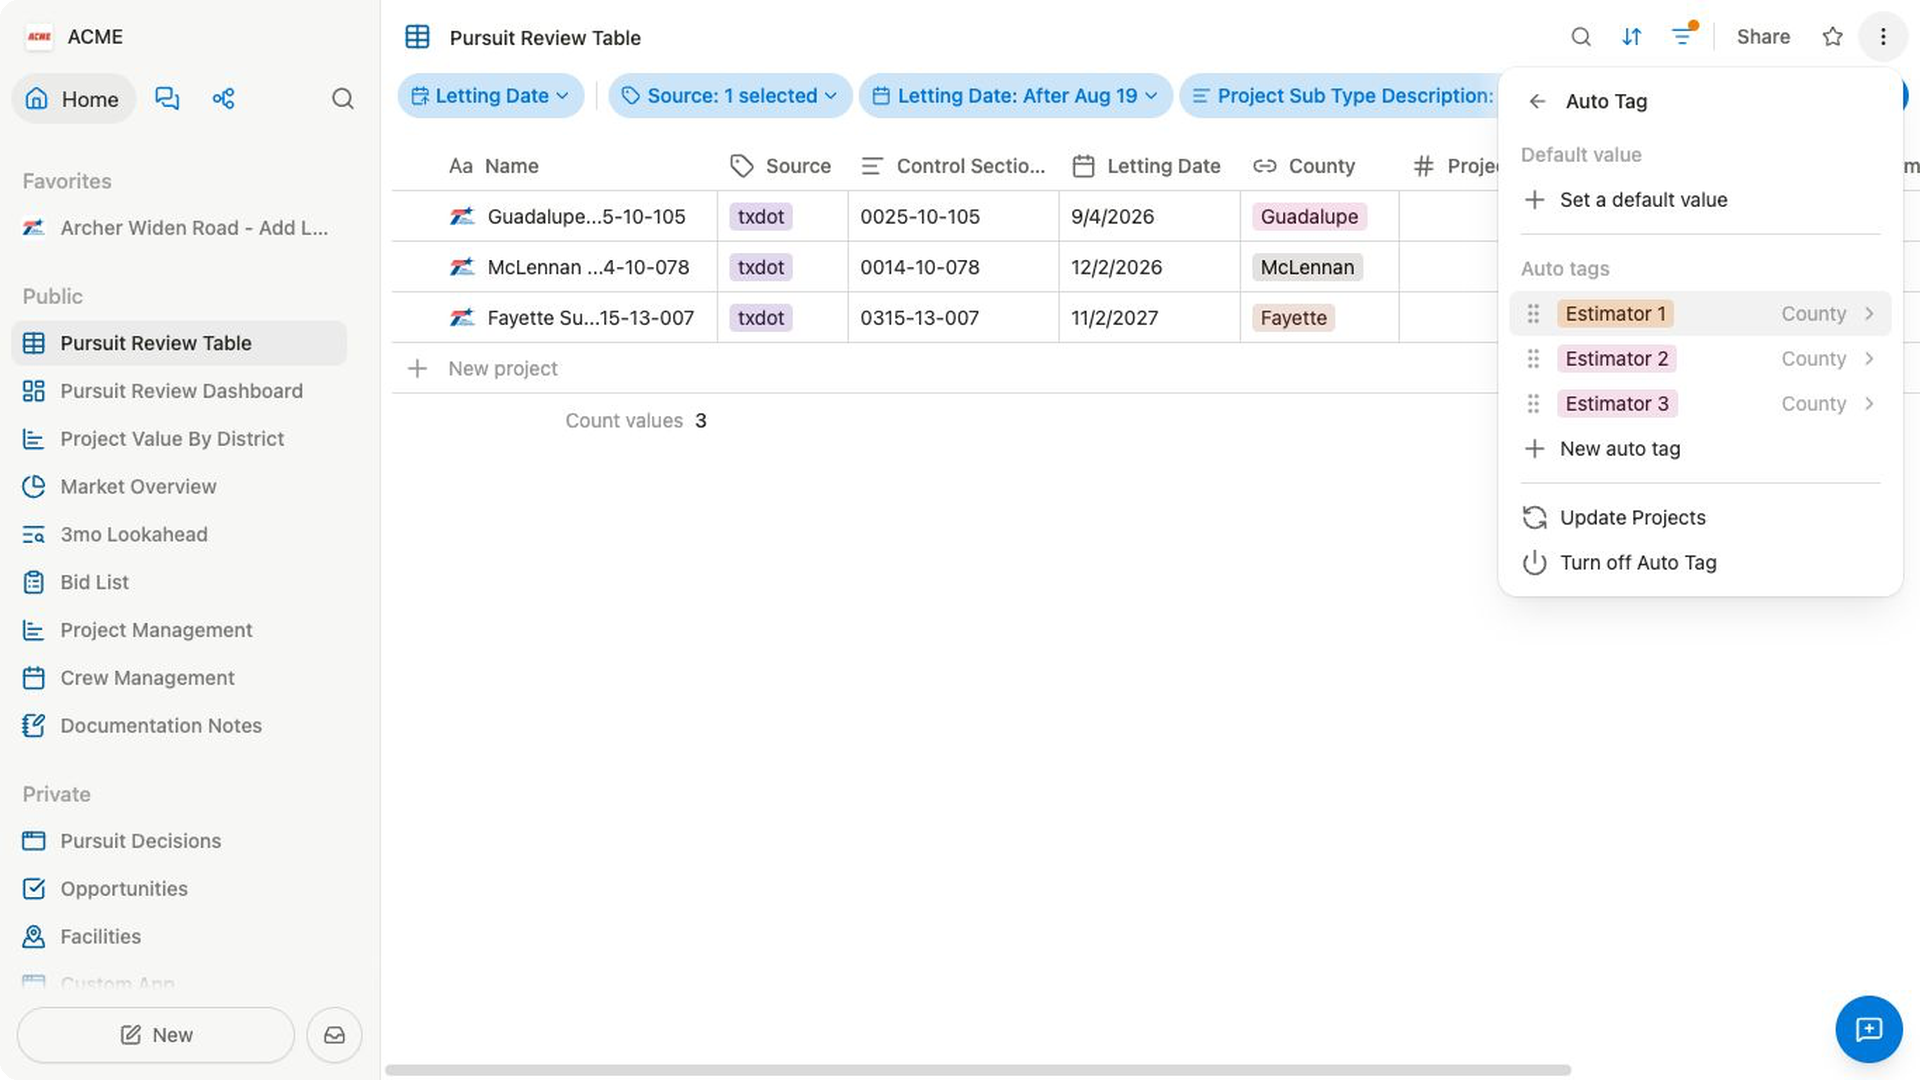
An auto-tag rule connects one tag option to filters on the collection being classified. When you run the rule, Bidlo applies that option to records that match its filters.
For example, an Upcoming tag could apply to Projects where Bid date is within the next 30 days and Status is not Submitted.
Each rule has three parts:
- the tag option to apply;
- the filters records must match; and
- the
Update {collection}action that runs the rule.
Rules can be reordered. If several rules apply to the same single-select Tag field, their order can affect which option is left on the record.
Create and run an auto-tag rule
- Open the settings for a
TagorMulti tagfield. - Select
Auto-tag. - If auto-tagging is off, use the primary action to create the first rule.
- Select the tag option the rule should apply.
- Add one or more filters that define matching records.
- Select
Update {collection}.
Bidlo runs the rule and reports how many rows were updated. The saved rule remains available for future updates.
Turn off or remove auto-tagging
Turn off Auto tagging to stop using the field's rules without removing the field or its tag options.
To delete one rule, open it and select Remove auto tag. This removes the rule configuration; it doesn't delete the tag field itself.
Review existing tagged records after changing or removing a rule. Changing or removing a rule does not remove classifications the rule already wrote to records. Update those records separately when the existing tags should change.
Related pages
FAQs
Should I use a tag or a relation?
Use a tag for a controlled label. Use a relation when the selected item needs its own record, fields, notes, files, or relationships.
Does removing an auto-tag rule remove tags it already applied?
No. Removing the rule stops that configuration, but existing classifications remain on records until you update them separately.